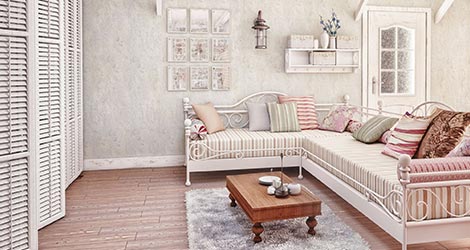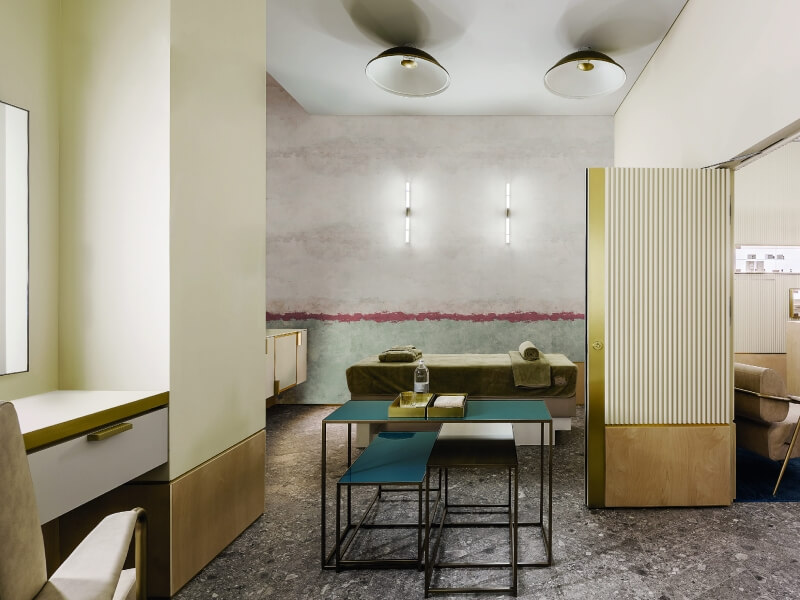
There is something quietly magical about a wall that seems to shift in colour as the light moves across it. One moment it looks dusty pink, the next a soft terracotta, and by evening it settles into a warm clay tone. That kind of depth does not come from a single tin of paint. It comes from layering, patience and a willingness to let the wall tell you when it is finished.
Limewash paint has become a favourite among homeowners and designers who want their walls to feel lived in and personal, not freshly manufactured. Unlike flat emulsion, limewash builds character through translucent layers that catch and bend light differently depending on where you stand. A gradient effect takes this a step further, blending two or more shades so the transition feels like a natural shift in the wall itself, not something painted on. It sounds like an advanced technique reserved for professionals, but with the right approach, it is something most people can attempt at home.
Why Limewash Lends Itself To Gradients
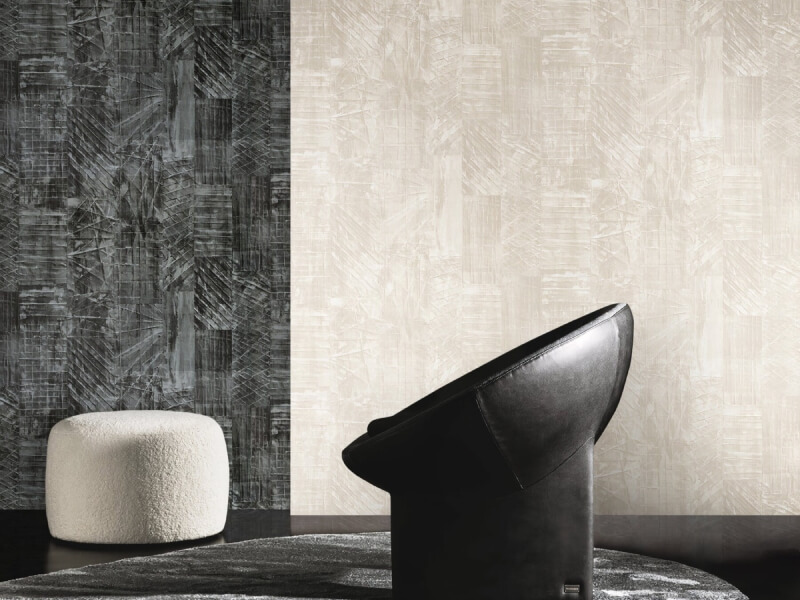
Limewash is naturally translucent, which is precisely why it works so well for blended, ombre-style finishes. Each coat sits on top of the last without fully obscuring it, so colours underneath continue to peek through. This layering quality is what gives limewashed walls their soft, cloudy texture, and it is also what makes gradient transitions possible without harsh lines or obvious brush marks.
Ordinary wall paint tends to sit flat and opaque, which can make blending two colours together look patchy instead of intentional. Limewash behaves more like a wash of watercolour, allowing pigments to settle unevenly in a way that feels organic. This is part of why the finish photographs so beautifully under Singapore’s natural light, with subtle variations that shift throughout the day.
Choosing Your Colour Palette
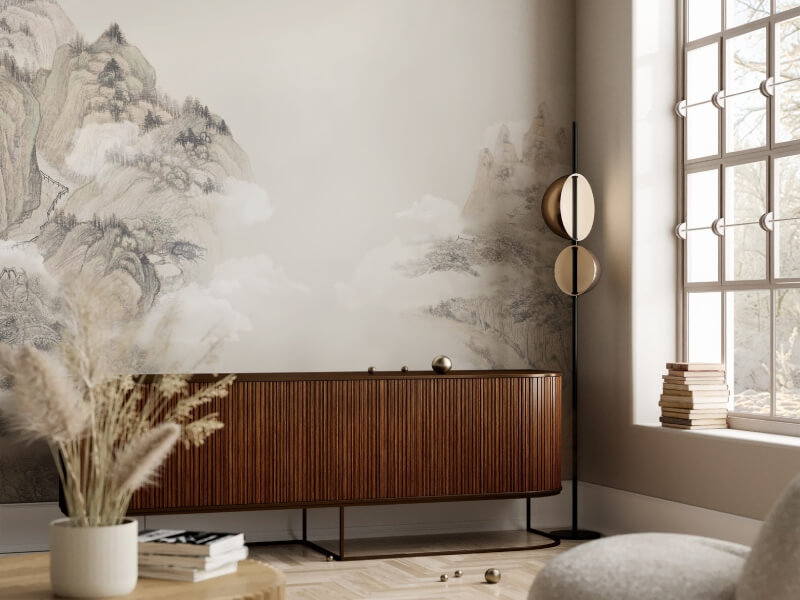
Before picking up a brush, decide if you want a subtle tonal gradient or a bolder colour shift. Both can look stunning, but they call for different approaches.
- Tonal gradients use shades within the same colour family, such as light sand fading into a deeper terracotta. These are more forgiving for beginners because the colours blend seamlessly even if your technique is not perfect.
- Contrasting gradients pair two distinct hues, like a soft blue transitioning into a warm beige. These require more careful blending at the meeting point to avoid a muddy or uneven middle section.
A good rule of thumb is to pick colours that share at least one undertone, be it warm, cool or neutral. This keeps the transition looking deliberate rather than accidental.
Preparing Your Wall And Materials
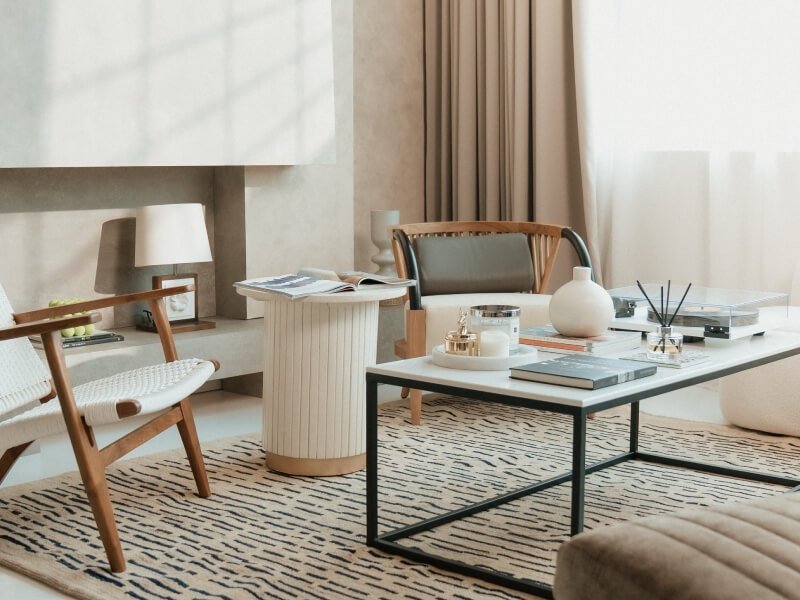
Getting the base right is just as important as the blending technique itself. Limewash adheres best to porous, mineral-based surfaces, so a wall that has been freshly plastered or primed with a limewash-compatible primer will give you the most authentic result.
Gather the following before you start:
- Two or more limewash colours in your chosen palette
- Natural bristle or limewash-specific brushes
- A separate mixing container for blending shades
- Clean water for thinning and diluting
- Painter’s tape for protecting edges, if needed
- A damp cloth for softening transitions as you go
Mixing small test batches on a spare board first is a sensible step. Limewash can dry lighter than it appears when wet, so testing helps you judge how the final gradient will actually look once cured.
Layering Technique For A Smooth Transition
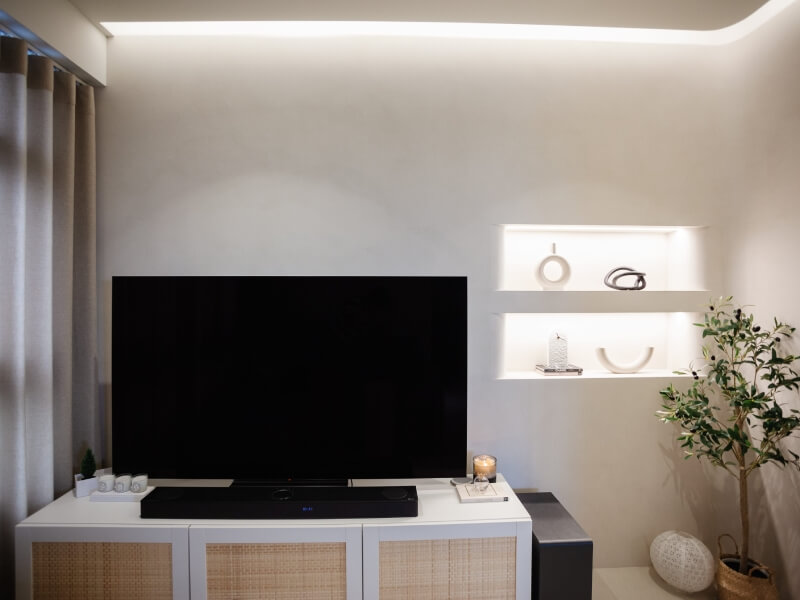
Start with your base colour and apply it across the entire section of wall you plan to work on, using loose, cross-hatched brush strokes instead of straight, uniform lines. This irregular application is part of what gives limewash its signature texture.
Once the base coat has dried, begin introducing your second colour from one end of the wall, working it inward. Rather than stopping abruptly where you want the gradient to appear, feather the brush strokes so the new colour thins out gradually. Overlapping the two shades in the middle section, while the paint is still workable, helps them merge into each other instead of forming a visible seam.
A damp cloth can be useful here. Lightly dabbing or dragging it across the blend zone softens any obvious lines and encourages the colours to mingle more naturally. Work in manageable sections instead of trying to blend an entire wall in one go, since limewash can dry faster than expected, especially in Singapore’s humidity.
Building up thin layers, instead of trying to achieve full colour saturation in one coat, generally produces a more convincing gradient. Two to three light coats, allowing drying time between each, tend to give better depth than one heavy application.
Common Mistakes To Avoid
Even experienced painters run into a few recurring issues when attempting a gradient effect for the first time.
| Mistake | Why It Happens | Simple Fix |
| Visible hard line at the blend point | Rushing the transition or not overlapping colours while wet | Feather strokes gradually and work section by section |
| Muddy, grey-toned middle zone | Combining colours with clashing undertones | Choose shades within the same warm or cool family |
| Patchy, uneven texture | Applying too much paint in one pass | Build colour gradually with thin, layered coats |
| Colour looks flat once dry | Skipping the light-catching cross-hatch technique | Use varied brush direction rather than flat rolling |
Patience tends to be the deciding factor between a gradient that looks intentional and one that looks like an accident. Rushing the blend zone is the single most common reason results fall short.
Bringing It All Together
A limewashed gradient wall rewards a slow, considered approach far more than speed or precision tools. The beauty lies in the imperfections, the soft cloudy patches, and the way colour seems to breathe across the surface rather than sit rigidly in place.
If you are ready to bring this look into your own home but want guidance on colour pairing, application, or sourcing the right products, Wallhub is a good place to start. Our team can help you choose a palette suited to your space and walk you through the process from start to finish.